Have you ever stopped to wonder what soap is? I don’t mean the pretty bar or dispenser sitting by your sink, but the process behind the stuff: the chemistry of ingredients that come together to make something that cleans and feels luxurious in your hands. At its core, soapmaking is one of those traditions that’s both practical and deeply grounding. It’s easy to see why people fall in love with crafting their own bars at home once you have a grasp on the basics.
In this blog post, I want to walk you through what soap actually is, how the process works, and how you can make your own. Don’t worry, this isn’t chemistry class all over again. Think of it more like a slow, creative kitchen project, with ingredients that transform into something great right in front of your eyes.
What Is Soap, Really?
At its simplest, soap is the result of a reaction between fat and lye. When those two mix, they create something completely new: a cleansing bar that can cut through dirt and grease while still being gentle on the skin. This process is called saponification, which is really just a fancy word for “turning fat into soap.”
The beauty is that the fat can come from a variety of sources—plants, animals, or a combination of both, and that’s where words like tallow and lard come in.
Tallow, Lard, & Lye
- Tallow is rendered beef fat.
- Lard is rendered pork fat.
Both are traditional soapmaking ingredients that have been used for centuries. They’re affordable, accessible, and sustainable if you’re already cooking with meat and don’t want those leftover trimmings to go to waste. They also create a firm, long-lasting bar of soap with a creamy lather.
If the thought of using animal fat in soap makes you pause, remember that once the fat and lye saponify, there’s little to no leftover lard or tallow on your skin. What’s left is pure soap and natural glycerin, which is wonderful for cleaning.
Lye (also called sodium hydroxide) is the other half of the soapmaking equation. On its own, lye is a caustic substance that demands respect. You never want to handle it carelessly, as it is highly corrosive and can cause chemical burns. When working with lye, it is important to avoid inhalation or having it touch bare skin and eyes. But when it’s handled right and carefully measured and combined with fat, the reaction completely transforms it. By the end of the process, there’s no free lye left in a properly made bar of soap. Think of it like fire in cooking. It can be dangerous on its own or unchecked, but when you work with it correctly, it can create amazing things!
Fat + Lye = Saponification
Here comes the magical part! When fat molecules (like those in tallow or lard) meet lye, the reaction breaks them apart and recombines them into soap and glycerin in a process called saponification. This process is what gives soap its cleansing properties and its silky, skin-loving feel. The proportions are really important though, and that’s where the tallow-to-lye ratio and the concept of a saponification value come in.
Each type of fat requires a specific amount of lye to turn it into soap. This amount is based on the fat’s saponification value (or SAP value for short). The SAP value tells you exactly how much lye is needed to completely saponify that fat.
Because every fat is slightly different, soapmakers use a lye calculator to get the ratio right. These calculators let you plug in the type of fat (tallow, lard, coconut oil, etc.), the amount you’re using, and how much you’d like to “superfat” the soap. Superfatting just means leaving a little extra fat unsaponified, which creates a gentler, more moisturizing bar. Most soapmakers aim for about 5%.

Rendering Your Fat
If you want to make soap with tallow or lard, the first step is rendering, which is basically melting down the raw fat to separate the pure, clean fat from any meat or tissue. Here’s a simple way to do it:
- Chop the fat into small pieces.
- Place it in a slow cooker or heavy pot. Add a little water to keep it from scorching and salt to help purify the fat.
- Heat gently on low. Over several hours, the fat will melt and separate.
- Strain through cheesecloth. This filters out any bits you don’t want.
- Cool and store. Once cooled, you’ll have a smooth, white fat ready for soapmaking.
You may have to repeat this step a few times if there are impurities (dark bits) that remain stuck to your fat. While it’s not glamorous, it feels rewarding to transform kitchen scraps into something useful.
How to Make Soap (The Basics)
Now that you have an understanding of the important soapmaking steps, here’s a simplified step-by-step guide to make your soap through a cold process:
- Safety first. Wear gloves, goggles, a face covering, and work in a ventilated space.
- Mix lye and water. Always add lye to water (never the other way around) and stir until dissolved. Let it cool.
- Melt your fats. Measure out your tallow, lard, or oils and melt them until liquid.
- Combine. Once both lye water and melted fats are at similar temperatures (around 100–120°F), slowly pour the lye water into the fats.
- Stick blend. Use an immersion blender to mix until the soap batter reaches “trace,” a stage where it thickens like pudding.
- Add extras. Essential oils, clays, herbs, or colorants can be mixed in here.
- Pour into your molds. Smooth the top and let it sit for 24–48 hours.
- Unmold and cure (which means to let the soap age outside of the mold). Slice into bars and let them cure for 4–6 weeks to fully harden.
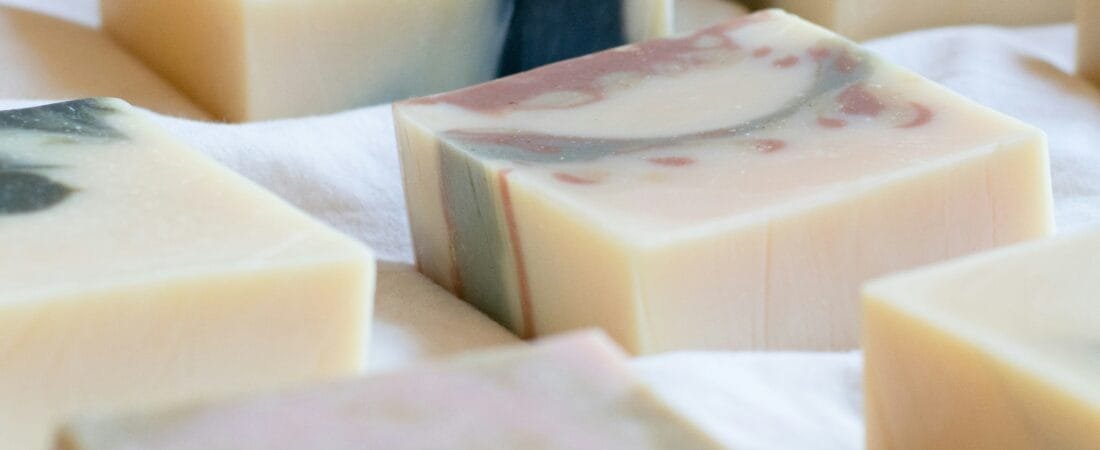
The process is both scientific and creative, with infinite room to experiment with scents, oils, and other additives. It’s also highly rewarding!
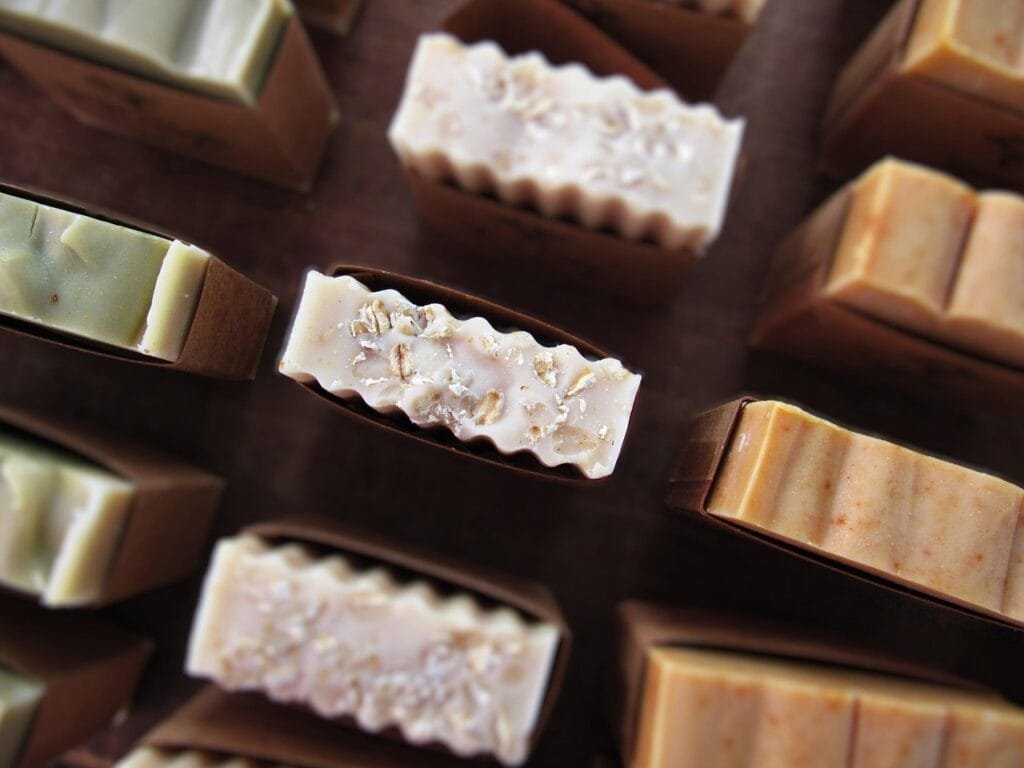
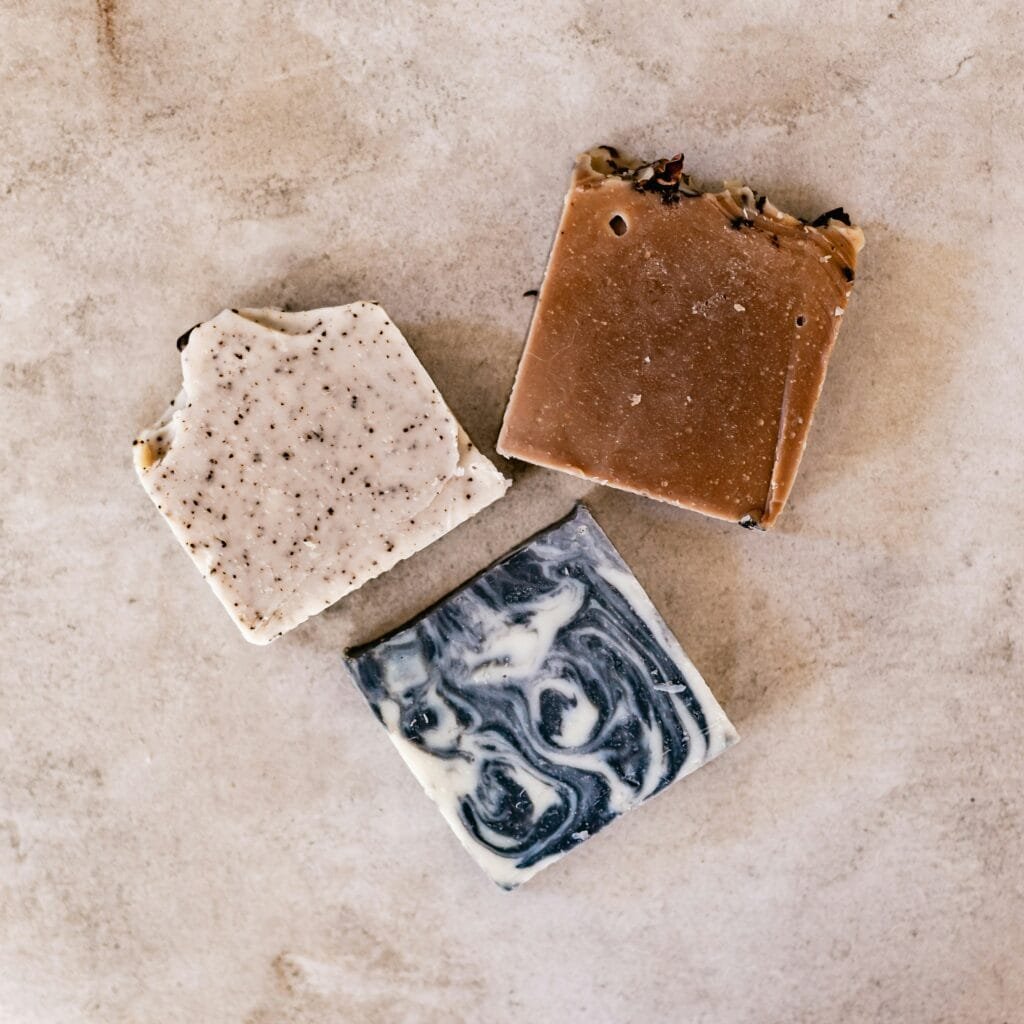
What to Add (And Why)
One of the most fun parts of soapmaking is customizing your bars. Different additives bring different benefits to your soap, so you can tailor each batch to what your skin needs.
- Bentonite clay: Adds a silky slip and is great for shaving soaps.
- Coconut oil: Boosts cleansing power and creates a bubbly lather.
- Sunflower oil: Mild and moisturizing, perfect for sensitive skin.
- Essential oils: Lavender for relaxation, peppermint for a cooling tingle, tea tree for antibacterial properties.
- Herbs and botanicals: Calendula petals, chamomile, or mint leaves can add gentle exfoliation and a natural touch.
- Coffee grounds: Coffee grounds can provide an exfoliating texture, a natural coffee scent, and a brown color to your soap. Used coffee grounds are recommended to prevent any unwanted discoloration to your soap.
Whenever I make soap, I love adding used coffee grounds since I’m both a big coffee drinker and has skin that prefers more frequent exfoliation. I also love adding castor oil, as it creates a nice and stable type of lather that I look for in soaps.
If you’re a beginner, it’s also important to note that not everything can go into certain types of homemade soaps. For example, Vitamin C is a popular ingredient for its antioxidant and brightening effects; however, adding it into the soapmaking process as-is can render the saponification ineffective, as the Vitamin C (ascorbic acid) will react with the lye to create sodium ascorbate (which is a salt) and neutralizes it. While ascorbic acid can be put into soaps, it requires some recipe tweaking.
Remember, the soapmaking process is a chemical reaction, so the ingredients you put in can affect that reaction. First-time soap makers may do better following an established soap recipe before venturing into adding more complicated ingredient mixtures, like Vitamin C or glycolic acid. There are great soapmaking resources out there on the internet, like the r/soapmaking subreddit, that can provide more detailed insights on the soapmaking process, ingredients, and recipes. The chemistry may sound intimidating, but don’t be afraid to explore!
Final Thoughts
Each addition makes your soap feel more purposeful and uniquely yours. You can experiment with additives to create a soap with the benefits you’re searching for.
Making soap connects you with a tradition as old as human history. It also gives you control over what touches your skin. You can also create a bar of soap that is customized to you and your preferences. You can avoid hidden detergents or synthetic fragrances, and add simple and recognizable ingredients that give you the perfect cleansing experience.
Beyond the practical benefits, there’s something so soothing about the process of creating soaps. It’s an intentional process. Watching fat and lye transform into something useful somehow feels both scientific and magical. It keeps you in touch with the simple things in life that we use daily but may take for granted.
Soapmaking may sound intimidating at first, but once you break it down, it’s simply about combining fat and lye in the right ratio and letting saponification do its work. Anything else added is just an extra benefit! With a little care and creativity, you can turn humble, everyday ingredients like tallow, lard, or oils into nurturing bars that bring joy to the most ordinary routines.
Disclaimer: The information provided in this blog is for general informational and entertainment purposes only. All activities, projects, and recommendations are shared based on personal experience and should be pursued with proper care, safety measures, and personal judgment. The author and website are not responsible for any injury, loss, or damage that may occur as a result of following the content provided. Always research, use appropriate materials and tools, and consult professionals when necessary before beginning any new hobby or project.