
Have you ever lit a candle and thought about how such a simple act can shift an entire mood? All it takes is one spark, and suddenly a room feels softer, calmer, maybe even more alive. Candlemaking is both practical and creative: it’s about creating light and scent, but it’s also about creating an atmosphere. You don’t need to be a professional to start making your own.
Today, we’ll walk through the essentials: the different types of wax, how wicks affect your burn, how to actually make a candle, and how to add fragrance in a way that smells balanced instead of overpowering.
Soy Candle vs. Beeswax Candle
The first big decision in candlemaking is your wax. Two of the most popular options are soy and beeswax, and each has its own personality.
- Soy Wax: Made from soybean oil, soy wax is eco-friendly, renewable, and generally budget-friendly. It burns slower than paraffin and tends to hold fragrance well. The look is smooth and creamy, which makes it easy for beginners. Soy candles are often chosen for clean-burning, highly fragrant candles.
- Beeswax: Beeswax has been used for thousands of years, and for good reason. It burns longer and brighter than most waxes and naturally releases a subtle honey-like scent. Beeswax also purifies the air as it burns, releasing negative ions that can help reduce dust and allergens. It’s usually more expensive than soy, but it gives a candle a rustic sort of feel.
There’s no “better” choice, it’s really about the experience you want. Soy gives you flexibility with fragrance and design, while beeswax offers a more natural, subtle elegance.
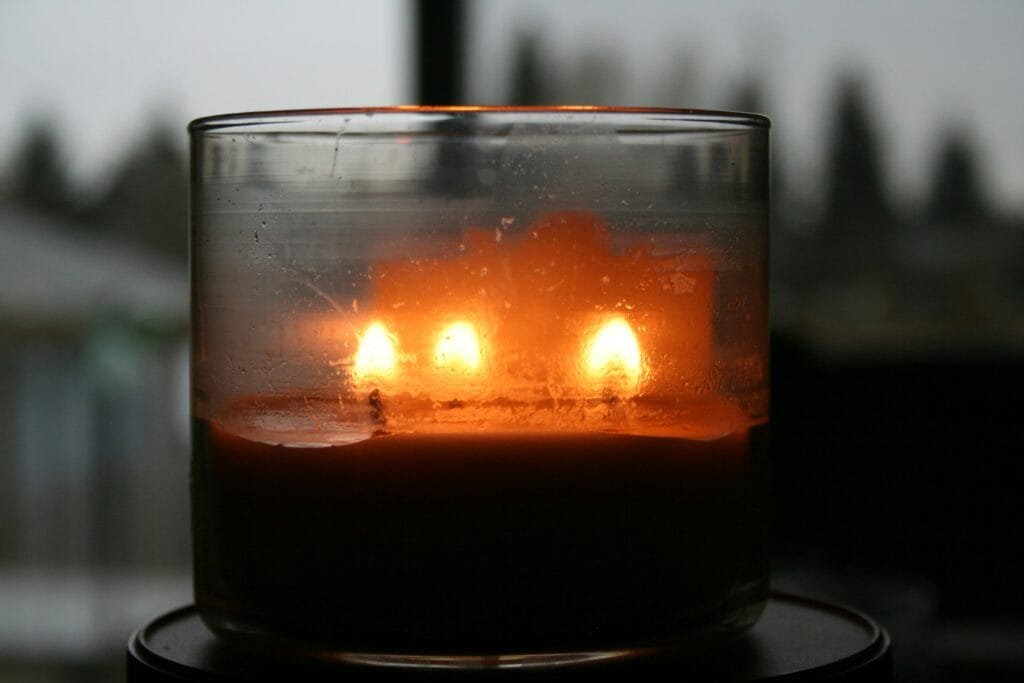
Wicks: Wooden vs. Traditional
![]()
The wick might seem like an inconsequential detail, but it makes all the difference in how your candle performs.
- Traditional Cotton Wicks: These are the most common and come in a variety of sizes to match your container and wax type. They give a steady flame and are easy for beginners to work with.
- Wooden Wicks: Wooden wicks are flat, thin strips of wood that crackle as they burn, creating a cozy fireplace “crackling” sound. They look striking and modern in clear jars, but they need a bit more attention. If they’re too big, they can smoke; too small, and the candle might tunnel.
Choosing the right wick often involves some testing, but as a rule, match the wick size to your container’s diameter and the wax you’re using. A properly sized wick ensures an even melt pool and avoids wasted wax around the edges.
How to Make a Candle
Here’s a simple overview of the candle-making process:
- Choose your container. Heat-safe jars, tins, or molds are all great options.
- Measure your wax. A kitchen scale is your best friend here—measure enough wax to fill your container, then add a little extra.
- Melt the wax. Use a double boiler method to melt it slowly and evenly.
- Prepare your wick. Secure the wick in the center of your container using a wick sticker or a dab of melted wax. Hold it upright with a wick holder or chopstick laid across the top.
- Cool slightly. Let the melted wax cool to about 120–140°F before adding fragrance. Adding essential oils to wax that’s too hot can burn off the scent.
- Add fragrance. Stir slowly and thoroughly to make sure the oils are evenly distributed.
- Pour the wax. Pour carefully into your container, leaving a little room at the top.
- Cure. Let the candle set for at least 24–48 hours before burning, and ideally a week for the fragrance to really develop.
Essential Oils and Fragrance Layering
One of the most exciting parts of candlemaking is customizing scent, but if you’ve ever smelled a candle that’s too strong, too weak, or oddly unbalanced, you’ll know why layering fragrance matters. Essential oils follow the same structure as perfumes:
- Top Notes: These are the first impression scents, bright, light, and uplifting. Think citrus, peppermint, or eucalyptus. These set the tone but fade the quickest.
- Middle Notes: Also called “heart notes,” these give the candle its main character. Floral, herbal, or fruity scents like lavender, geranium, or rosemary fit here.
- Base Notes: These are the grounding scents that linger the longest. Woods, spices, and resins (like sandalwood, vanilla, or patchouli) anchor the blend.
When layering, a good rule of thumb is:
- 20–30% top notes
- 40–50% middle notes
- 20–30% base notes
This balance keeps the candle smelling balanced and harmonious from the first burn to the last.

Candle Add-Ins and Enhancements
Candles are versatile and can be personalized in limitless ways:
- Colorants: Natural micas or candle-safe dyes add personality.
- Botanicals: Dried flowers or herbs can be sprinkled on top for a beautiful, natural look.
- Blends: Combine soy and beeswax to get the best of both worlds! You can get easy fragrance blending from soy and the longevity of beeswax.
As each person’s scent preferences differ, you can experiment on your own to find the scent combinations that work well for you or search for scent combinations that others have done that you think you might like! My personal favorite blend of candle to make is soy-based, with a top note of bergamot, middle note of jasmine, and a base note of white musk.
For beginners, here’s a word of caution. While it’s tempting to load up on extras, too much fragrance oil or botanicals can affect how the candle burns. Try keeping it simple, less is often more.
Final Thoughts
Candlemaking is a great hobby that keeps you in touch with an aspect of your home that adds a touch of personality and creates a unique atmosphere to your space. Store-bought candles can be lovely, but homemade candles allow you to choose exactly what goes into them, whether that’s cleaner-burning wax, subtle natural scents, or a design that feels like you. Candlemaking is equal parts science and art. With the right wax, wick, and unique fragrance balance, you can create candles that transform the space that you’re in.
Disclaimer: The information provided in this blog is for general informational and entertainment purposes only. All activities, projects, and recommendations are shared based on personal experience and should be pursued with proper care, safety measures, and personal judgment. The author and website are not responsible for any injury, loss, or damage that may occur as a result of following the content provided. Always research, use appropriate materials and tools, and consult professionals when necessary before beginning any new hobby or project.
If You Liked This, You May Also Like: