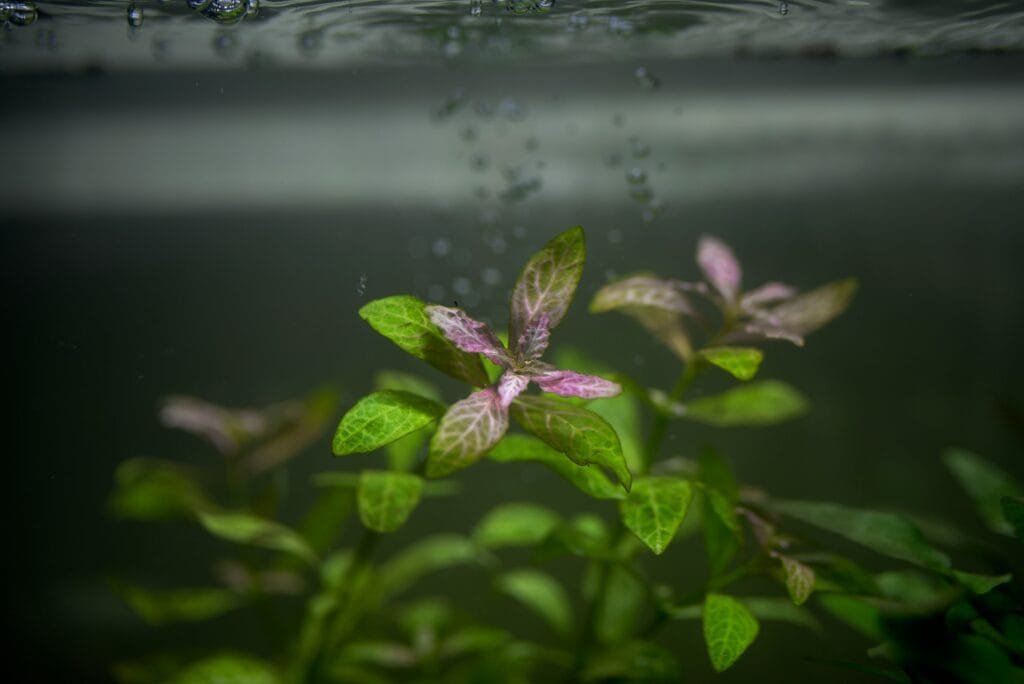
There’s something so calming about watching a little world come to life right in front of you. Maybe it’s the way tiny bubbles drift toward the surface, the gentle sway of aquatic plants, or the slow and steady movement of a snail exploring its surroundings.
For me, that’s what sparked my fascination with bladder snails.
They’re often considered “pest snails” in aquariums, but in the right setup, they can become surprisingly delightful pets! They’re quiet, very low-maintenance, and interesting to watch. And the best part? You can keep them right on your desk.
If you’ve ever wanted a tiny ecosystem that’s both beautiful and easy to care for, creating a small jar habitat for bladder snails might be exactly what you need. It’s peaceful, educational, and strangely grounding. Let’s explore how to build this mini world from scratch, using a natural, self-sustaining approach inspired by the Walstad method.
What Makes Bladder Snails Special
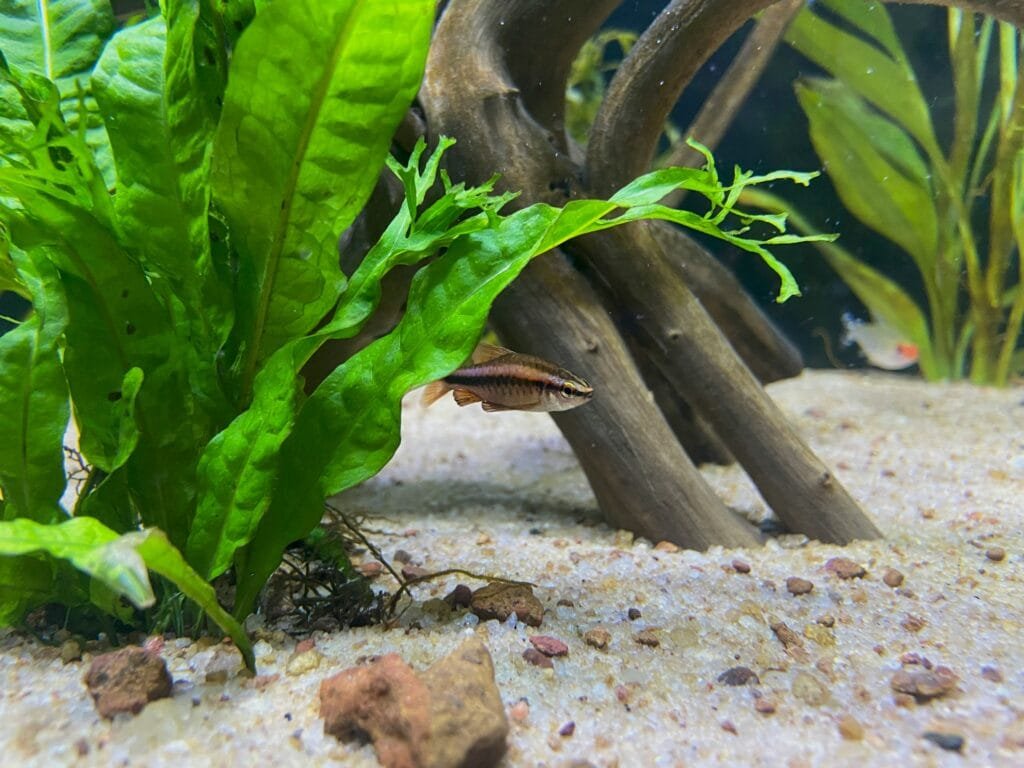
Bladder snails (scientific name Physella acuta) are small freshwater snails known for their translucent shells and delicate spirals. Unlike larger aquatic snails, they stay petite (usually no more than half an inch long) and spend their days gliding gracefully along glass, leaves, and gravel.
They’re sometimes called “hitchhiker snails” because they often come into aquariums accidentally, clinging to live plants or decorations. But in truth, these little creatures can be just as fascinating to observe as other aquatic pets. They’re hardy, adaptable, and play an important role in a balanced ecosystem. They eat decaying plant matter, clean up algae, and even help aerate the environment as they burrow.
So while they might not have the glamour of goldfish, betta fish, or even mystery snails, bladder snails bring something else to the table: simplicity and charm.
Building Your Snail Habitat
Creating a snail habitat is much easier than it looks. In fact, you probably have most of the materials at home or can easily find them at your local pet store.
What You’ll Need
- A half-gallon (or larger) sealable glass jar — mason jars work beautifully.
- Aquarium soil (about an inch to an inch and a half deep).
- Aquarium gravel (about an inch layer on top of the soil).
- Dechlorinated water — tap water treated with a conditioner is fine.
- Aquatic plants — I recommend java moss, anubias nana, or anubias nana petite.
- Sanitized skewer or garden fork for poking air bubbles.
- A few bladder snails, ideally two to five depending on the size of your jar.
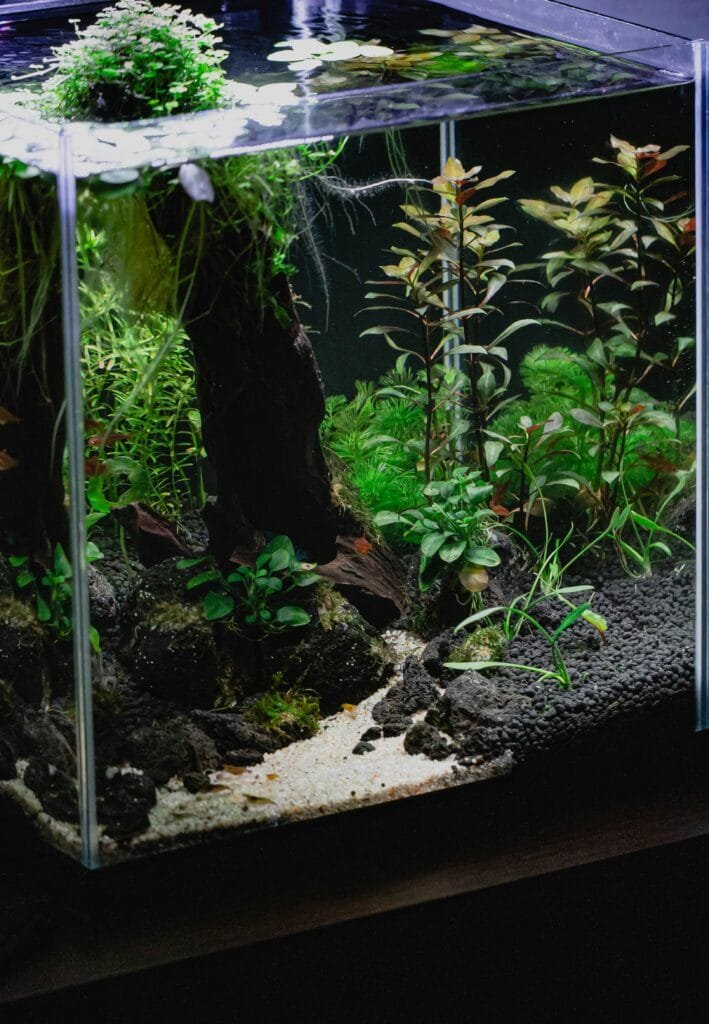
Step 1: Layering the Foundation
Start by adding your aquarium soil to the bottom of the jar. This soil will act as the nutrient base for your plants and help anchor your ecosystem.
Next, add a layer of gravel on top. The gravel helps prevent the soil from clouding the water while allowing water and nutrients to circulate naturally between the two layers.
Step 2: Add the Water
Now, slowly pour in dechlorinated water until the soil and gravel are fully covered, leaving a few inches of space at the top. At this stage, use your sanitized skewer or garden fork to gently poke out any trapped air bubbles from the soil.
This step might seem small, but it’s crucial. Trapped air bubbles can create pockets for anaerobic bacteria, which are microbes that thrive without oxygen and can release harmful gases. Popping those bubbles early keeps your little ecosystem healthy and safe for your snails.
Step 3: Planting the Greens
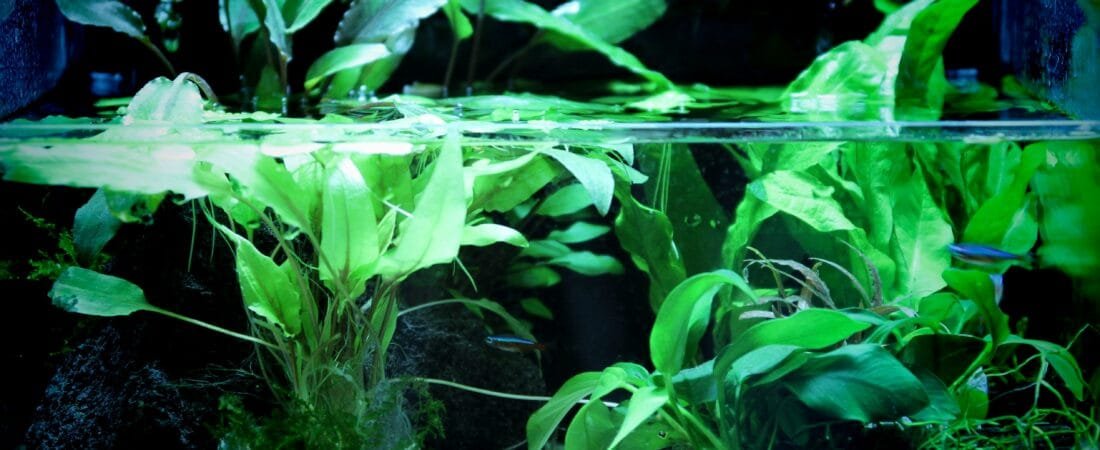
Once your water is added and is clear, it’s time to plant. Java moss and anubias species are excellent choices because they’re hardy, oxygenating plants that don’t need strong lighting.
If you use anubias, remember that the rhizome (the thick, root-like part) should stay above the soil. Only the fine roots should be gently tucked into the gravel. This keeps the plant healthy and prevents rot. Java moss, on the other hand, can simply be pressed into place or attached to a rock or decoration.
As these plants photosynthesize, they release oxygen into the water: something your snails will depend on. And in return, the snails’ waste will feed the plants, creating a natural balance that mimics what happens in the wild.
If you’ve ever heard of the Walstad method, this is where the concept comes to life. The Walstad method focuses on creating a self-sustaining, low-tech aquarium by balancing plants, animals, and microbes in harmony. When done right, your jar becomes a closed-loop ecosystem that almost takes care of itself.
Step 4: Filling the Jar
Once your plants are in place, carefully fill the rest of the jar with dechlorinated water. Pour slowly so you don’t disturb the soil or uproot your plants. You can leave a small air gap at the top to allow for gas exchange.
If your water looks cloudy at first, don’t worry! It’ll usually clear up within a day as particles settle.
Step 5: Adding the Snails
Now comes the exciting part: introducing your snails.
Bladder snails are easy to find. Most pet stores that sell aquatic plants or fish, like PetSmart or Petco, will have them, often as uninvited guests clinging to plant leaves or the sides of the tank. You can ask for them directly, or even find some already attached to live plants you purchase.
Start with just two to five snails, depending on your jar size. They reproduce asexually, meaning one snail can create more over time. That might sound concerning, but in a closed environment with limited food, their population naturally balances out.
Once released, you’ll notice them exploring right away, gliding along the glass or gently cleaning plant leaves. It’s oddly soothing to watch.
Caring for Your Mini Ecosystem
The beauty of this setup is how little maintenance it requires. The snails feed on dead plant matter and algae, helping keep your jar clean. You can supplement their diet with a tiny piece of vegetable or one flake of fish food every couple of months, but in a well-balanced jar, they often won’t need extra feeding.
Keep your jar in a spot with moderate indirect light, bright enough for your plants to photosynthesize, but not so bright that algae takes over. A nearby window that doesn’t receive harsh afternoon sun is perfect.
Over time, you’ll start to notice tiny bubbles on the plants from photosynthesis, or small new roots forming from your greenery. These are signs that your ecosystem is thriving.
If the water ever becomes murky or develops an unpleasant smell, that could be a sign of anaerobic bacteria, usually caused by trapped gases or overfeeding. In that case, gently stir the gravel with a skewer, remove any excess debris, and perform a 20%-50% water change.
The Fascination of Slow Living
One of the most beautiful parts of keeping bladder snails is how they remind you to slow down. Watching them move in their unhurried, deliberate, and curious manner has a calming effect. The snails nibbling on decaying plant matter or gliding across the top of the water upside down can also be quite entertaining!
If you’re someone who works long hours at a desk or just wants a pocket of calm nearby, this little jar of life can bring a sense of peace that’s hard to describe. It’s nature in miniature, a self-contained reminder of balance and connection.
There’s also a subtle lesson hidden in it all. The soil, gravel, water, plants, and snails each play a role, relying on each other to maintain harmony. It’s a small ecosystem that mirrors our own need for balance between rest and work, movement and stillness.
Why the Walstad Method Works So Well
Diana Walstad’s method, originally developed for aquariums, is based on letting nature do the heavy lifting. Instead of filters or fancy equipment, it relies on biological balance. The plants handle oxygenation, the snails (or fish, in larger systems) provide nutrients, and the microbes break down waste into usable minerals.
This balance is what makes your snail jar so easy to maintain.
Closing Thoughts
In a world that’s constantly speeding up, sometimes the most meaningful thing we can do is create something that asks us to slow down. So if you’ve been looking for a simple, beautiful, and surprisingly meditative pet, give bladder snails a try. Build their little world, nurture it, and let it return the favor.
Disclaimer: The information provided in this blog is for general informational and entertainment purposes only. All activities, projects, and recommendations are shared based on personal experience and should be pursued with proper care, safety measures, and personal judgment. The author and website are not responsible for any injury, loss, or damage that may occur as a result of following the content provided. Always research, use appropriate materials and tools, and consult professionals when necessary before beginning any new hobby or project.
You Might Also Like:
Pond Stocking: How to Build a Natural Pond That Lasts for Generations