The first time I made cauliflower wings, I expected them to taste like a compromise. I thought they would be a healthier alternative that felt almost good enough but not quite exciting. Instead, I pulled a tray of golden, crispy florets from the oven, tossed them in a glossy red glaze, and realized that this was one of those plant based dishes that surprises you in the best way. They were tender inside, crisp outside, and packed with a sweet heat that felt like a warm hug for the taste buds. I ended up eating half the tray standing in my kitchen because every bite invited another one.
Gochujang-glazed cauliflower wings have become one of my favorite holiday dishes because they bring something fun and bright to the table. They fit perfectly into a plant forward menu, but they also win over people who love traditional comfort foods. The glaze is sticky and flavorful, and the cauliflower takes on a satisfying texture that makes the whole dish feel special without asking for much effort.
Whether you want a vegan friendly centerpiece, a shareable appetizer, or a vibrant side dish for your next meal spread, these cauliflower wings bring both joy and flavor. Cauliflower absorbs flavor beautifully, and roasting or air frying it adds crispiness without deep frying. Gochujang, the star of the glaze, offers a blend of heat, sweetness, and umami that layers beautifully with garlic, ginger, and a touch of maple syrup.
Ingredients
For the cauliflower wings
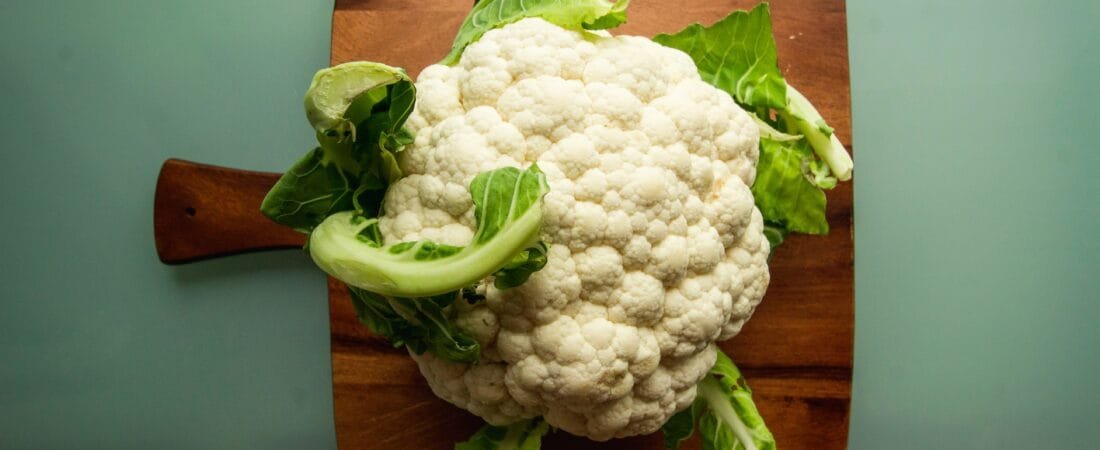
- 1 large head of cauliflower, cut into bite sized florets
- 1 cup all purpose flour
- 1 cup unsweetened plant milk
- 1 tablespoon cornstarch
- 1 teaspoon garlic powder
- 1 teaspoon onion powder
- 1 teaspoon salt
- 1 teaspoon black pepper
For the gochujang glaze
- 3 tablespoons gochujang
- 2 tablespoons soy sauce or tamari
- 2 tablespoons maple syrup
- 1 tablespoon rice vinegar
- 1 tablespoon sesame oil
- 1 tablespoon minced garlic
- 1 teaspoon grated fresh ginger
- Optional: 1 to 2 teaspoons brown sugar for added sweetness
For serving
- Sesame seeds
- Sliced green onions
- Fresh lime wedges
Instructions
Step 1: Prepare the cauliflower
Preheat your oven to 425°F or set your air fryer to 390°F. Line a baking sheet with parchment for easy cleanup.
Cut your cauliflower into small to medium florets. Try to keep them similar in size so they cook evenly.
Step 2: Make the batter
In a large bowl, whisk together the flour, cornstarch, garlic powder, onion powder, salt, pepper, and plant milk. The mixture should look like a smooth, pourable batter that lightly coats the florets.
Add the cauliflower florets and toss until everything is well coated.
Step 3: Roast or air fry
Spread the florets onto the prepared baking sheet in a single layer.
Roast for 25 to 30 minutes, flipping halfway through, until the edges are golden and crisp.
If you’re using an air fryer, cook for 14 to 18 minutes in small batches, shaking the basket halfway through. You want the batter to feel firm and lightly crisp to the touch.
Step 4: Make the glaze
While the cauliflower cooks, whisk together the gochujang, soy sauce, maple syrup, rice vinegar, sesame oil, garlic, and ginger in a small saucepan.
Warm over low to medium heat for 3 to 4 minutes until the glaze thickens slightly. Taste and adjust. Add more maple syrup for sweetness or more vinegar for tang.
Step 5: Toss and finish
Transfer the hot cauliflower to a large bowl and pour the glaze on top. Toss gently until the florets are evenly coated and shiny.
Return the glazed cauliflower to the oven for 5 to 8 minutes to help the glaze set.
Step 6: Garnish and enjoy
Sprinkle it with sesame seeds and green onions. Serve with lime wedges for brightness.
These wings are best enjoyed fresh, but leftovers keep nicely for up to three days.
Tips for the best texture
- Do not overcrowd the pan. Air around the florets is key to achieving crispness.
- For extra crunch, spray the florets lightly with oil before roasting.
- If reheating, use an air fryer or oven to bring back the crisp texture.
For a gluten free version, replace the flour with a 1 to 1 gluten free blend and use tamari instead of soy sauce.
Disclaimer: The recipes and nutritional content shared on this blog are based on personal experience and general wellness principles. They are not intended to diagnose, treat, cure, or prevent any health condition. Please consult with a healthcare provider or registered dietitian before making any significant dietary changes, especially if you have allergies or health conditions.
You Might Also Like:
Low-FODMAP Lemon Herb Chicken with Roasted Veggies (Quick 30-Minute Dinner)